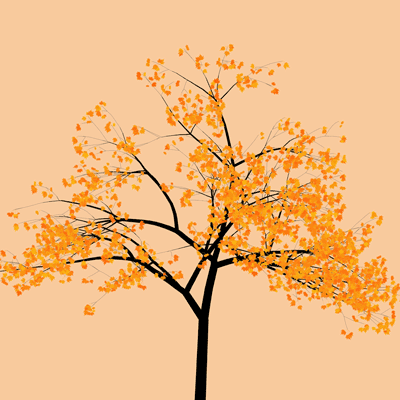
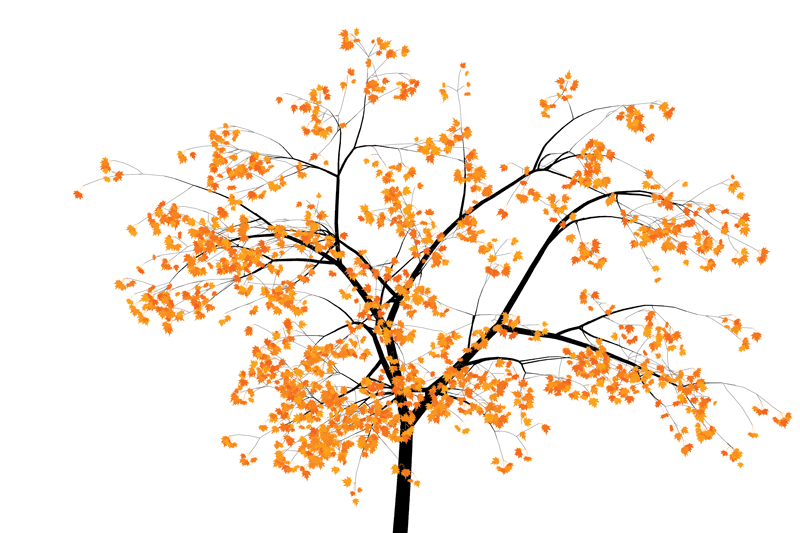
Early experiments with L-system trees produced rigid, super-regular results (example from processing.org.) Not at all what we wanted.
So, I struck out on my own. I looked at a lot of real trees. I looked at a lot of pictures of trees on flickr. I read a lot of papers about how trees grow, and about forestry management(!), and pruning.
Kim and I were going for a tree silhouette. I thought I could get away with an entirely two-dimensional simulation. My first crack at this is a frizzy little number. His branches taper as 1/sqrt(x) towards their tips, and the distance between branches drops the same way too. It's better than the L-system one, but still, this is not what a tree looks like. The branches happen in about the same place every time. The limb taper is OK, but the branches aren't right. It's not real.
From the get-go, even this tree had some of the fundamentals: The trunk and branches turn and twist as they're growing. Where they're thicker, their movement is limited. At the tips, they're free to move quite a bit. And, branches get closer together the nearer they are to the tips of the branch where they came from.
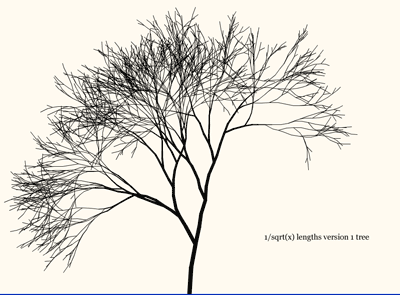
Shooting for a quick win, I developed a tree that at each branching interval would decide whether it would branch left, right, or both. The result was striking. For a long time, my algorithm could do only worse than what you can see to the right. The good part about this is that it really looks like a tree. The bad part is that the more you stare at it, the more the problems become evident. The angles were too constrained, and way too two-dimensional. Branches clearly sprouted to the left and to the right; never to the front and behind.

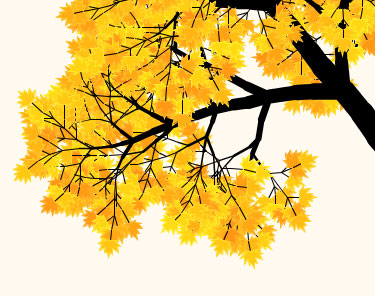
I knew I had to migrate to three dimensions to get all this right. Before going whole hog, I tinkered. We knew we wanted leaves, so I tried one that had a kind of leaf skeleton, or a star at the end of each branch. The colors were chosen randomly from a range in the oranges and yellows. From a distance, interesting, but it didn't hold up to scrutiny.
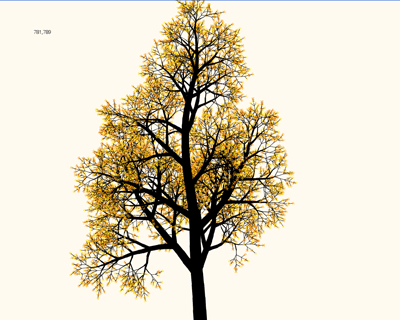
One day, I printed out an outline of a large maple leaf. I sat down with paper, pencil, and a protractor (seriously), and drew up the smallest set of vectors that I could use to represent the leaf. I jammed one of these at the end of every branch, and it wasn't too bad. Rigid, but getting there.
The transition to 3D was not simple. I was doing everything in polar coordinates in 2D. Going to 3D with spherical coordinates was brain hurty. To ease my frustrations, I ended up developing a test application with rotatable axes so I could visualize what I was trying to do.
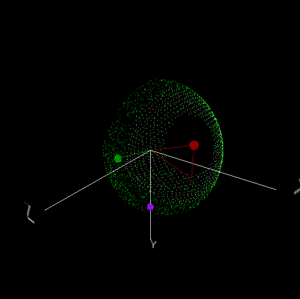
The result? A mess! But... an organic-looking mess!
The worst part of the conversion to 3D was getting the branching angle right. I ended up with two parameters: once a location is selected for a branch, it can sprout randomly anywhere on the circumference of its trunk. And, it leaves the trunk at a random angle uniformly distributed between 30 and 70 degrees. This area is shown with the green dots in the test program screen shot above. Note the hole in the middle of the distribution between 30 and 0 degrees; this keeps the branch from getting all up in the trunk's junk.
Also, for these trees, the distance between branches drops off faster towards its end. After staring at lots of trees, and trying various functions, I settled on L = sqrt(A-Bx^2). The actual distance to the next branch is chosen randomly from Gaussian distributed numbers centered around L, with a standard deviation of 1/3 L.
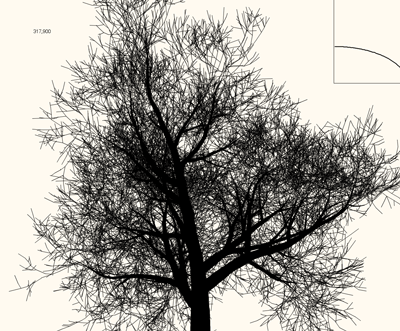
When a branch forks off, it can be between 25% and 75% of the diameter of the larger branch it left behind. One paper I read had this figure at 25% to 50%.
When a branch leaves, the diameter of the branch it left behind is reduced going forward such that the cross-sectional area is conserved. In other words, if you have a branch, and then it forks like a "Y", the cross sectional areas of the two tines add up to the cross sectional area of the branch leading up to the fork. Incredibly, this observation comes from one of Leonardo Da Vinci's notebooks!
If a branch off of the trunk takes too much of the area, it can become a co-dominant leader. This makes a weaker tree that doesn't grow as tall. But, it'll definitely look funkier!
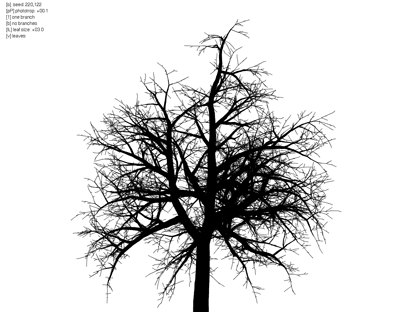
I made the discovery that branches affect the trunks where they leave. When a branch forks off, it pushes the trunk where it left away from it, altering the angle that the trunk grows. There's a lot of fudginess applied to how much it pushes. Too much, and there are branches going everywhere. Too little, and the tree looks very artificial.
There's one key hack for on branches that come from the main trunk. It remembers where the last few branches came off, and avoids putting a new branch on top of an existing one. This simulates how real trees grow, with each branch fighting for sunlight. It helps balance the tree, and spread it out. Before I did this, I'd frequently get trees that were crazily imbalanced, with all the branches coming out of the left side.

I came up with a simple way of faking phototropism (how plants grow towards the sun). The edges of the tree bend up more than the parts near the trunk. Only, Kim and I found we almost preferred the droopier trees we got when the phototropism vector pointed down towards the ground!
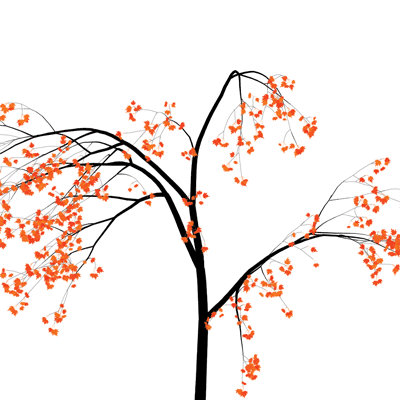
These trees are also the first to have leaves with actual stems! Each leaf hangs from the tip of a branch by a stem that curves slightly downwards. I made the curve by applying a little gravity to each of three segments of the stem.
Don't tell anyone, but the leaf transformations are all 2D hacks. It's just enough to make the leaves look different, so you don't see them all face on.
